If you’re stepping into the world of video podcasting, there’s one element that can make or break your show’s professional appeal: camera angles. While it might be tempting to point a camera at yourself and start recording, thoughtful camera work can make the difference between amateur and pro production.
Camera Angles for Single-Host Shows
Incorporating a few strategic angles can add professional variety to your content while keeping your audience engaged. Let’s break down the essential camera angles that will elevate your single-host podcast.
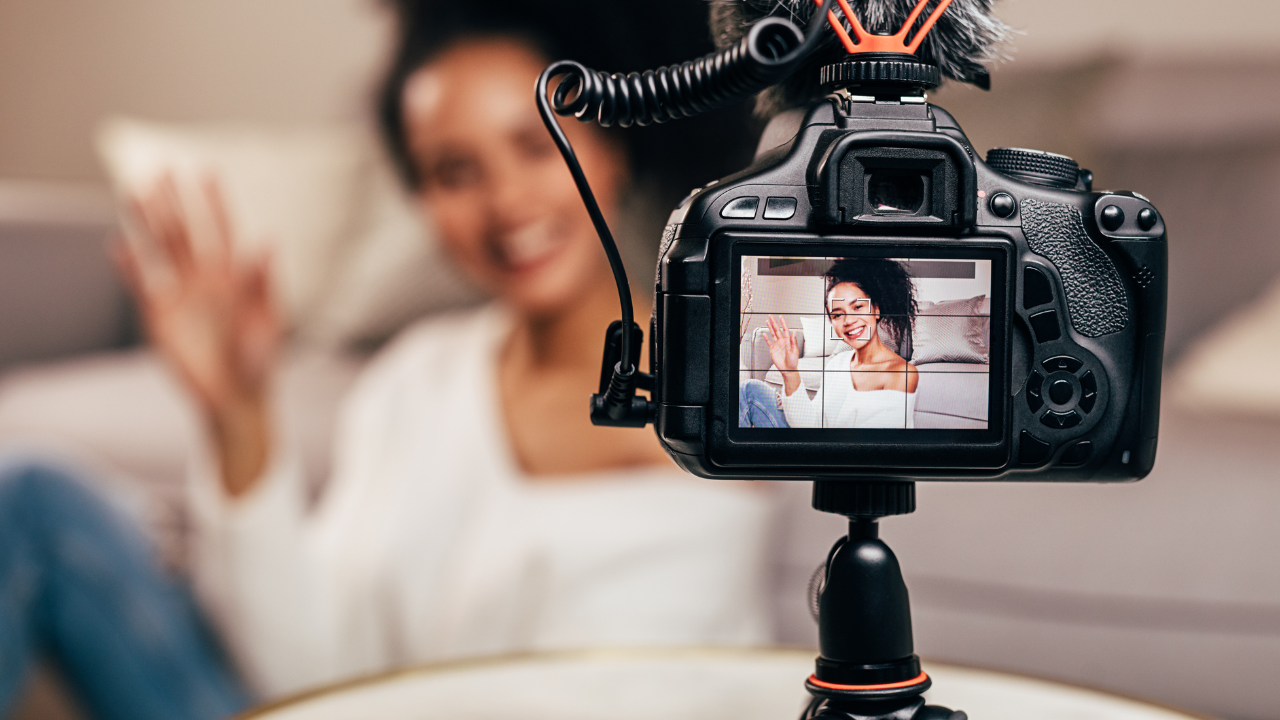
- Straight-On Shots: Your primary angle, or what we call the “straight-on” shot, is your bread and butter. Position your camera at eye level, directly in front of you, about arm’s length away. This creates a natural, conversational feel – as if you’re talking directly to your viewers.
- Three-Quarter Angle: Want to add some visual interest? Set up a second camera at roughly 35-45 degrees from your main angle. This three-quarter shot gives viewers a different perspective and can be especially effective when you’re telling stories or making important points. It also helps break up the visual monotony of longer episodes and can hide asymmetrical elements in your background.
- Wide Shots: Every single-host show needs a solid wide shot. Position this camera to capture your entire setup, including some of your environment. This angle works perfectly for your intro and outro segments, establishing your space, and transitioning between topics. It also gives viewers context about your studio setup and helps them feel more connected to your brand.
- Close-Up Options: A well-placed close-up shot works well for emotional moments, important revelations, or when you’re sharing personal stories. To pull this shot off, position a camera to capture your face from a slightly tighter angle than your main shot. Just be careful not to overuse it – close-ups are like seasoning, so they are best used sparingly for maximum impact.
The key to using these angles effectively is knowing when to switch between them. Your main angle should be your home base, making up about 70% of your show. Use the three-quarter angle to add variety, the wide shot for transitions, and close-ups for emphasis. If you’re recording live, plan these switches in advance. If you’re editing in post-production, these different angles give you more options to maintain viewer interest and emphasize key moments.
Camera Angles for Multiple Hosts/Guests
Setting up camera angles for multiple hosts or guests requires careful planning, but when done right, it creates a dynamic viewing experience that rivals professional broadcasts.
Two-Person Setup
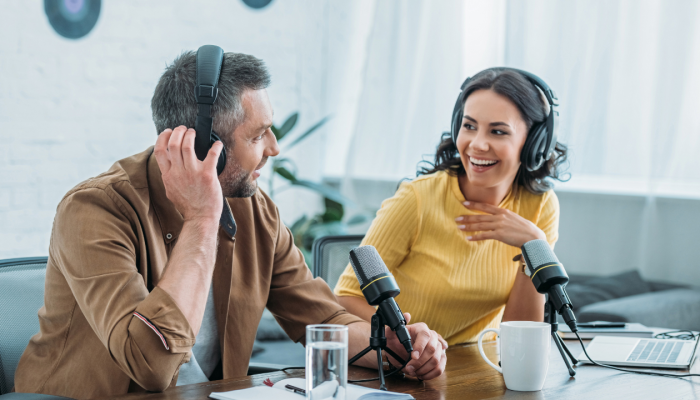
For a classic two-person show, you’ll want at least three camera angles:
- Individual shots of each person, framed from mid-chest up with proper headroom
- A wide shot capturing both hosts, typically set up to show your full studio setup
- A 45-degree angle that catches both hosts in profile, perfect for capturing natural conversation dynamics
Three-Person Setup
With three people, you’re entering more complex territory. Your essential angles include:
- Individual shots for each participant
- A wide shot encompassing everyone
- At least one two-shot angle capturing interactions between pairs of speakers
Four or More Participants
For larger groups, you’ll need a few more camera angles including:
- Maintain individual shots for each person
- Include a master wide shot
- Add strategic two-shots and three-shots of adjacent participants
- Consider an overhead angle for variety (especially useful for table discussions)
As you add more participants, proper framing becomes crucial. Ensure everyone has enough space to gesture naturally without leaving their frame, and check that no one’s face is blocked during normal conversation.
Common Camera Angles to Avoid
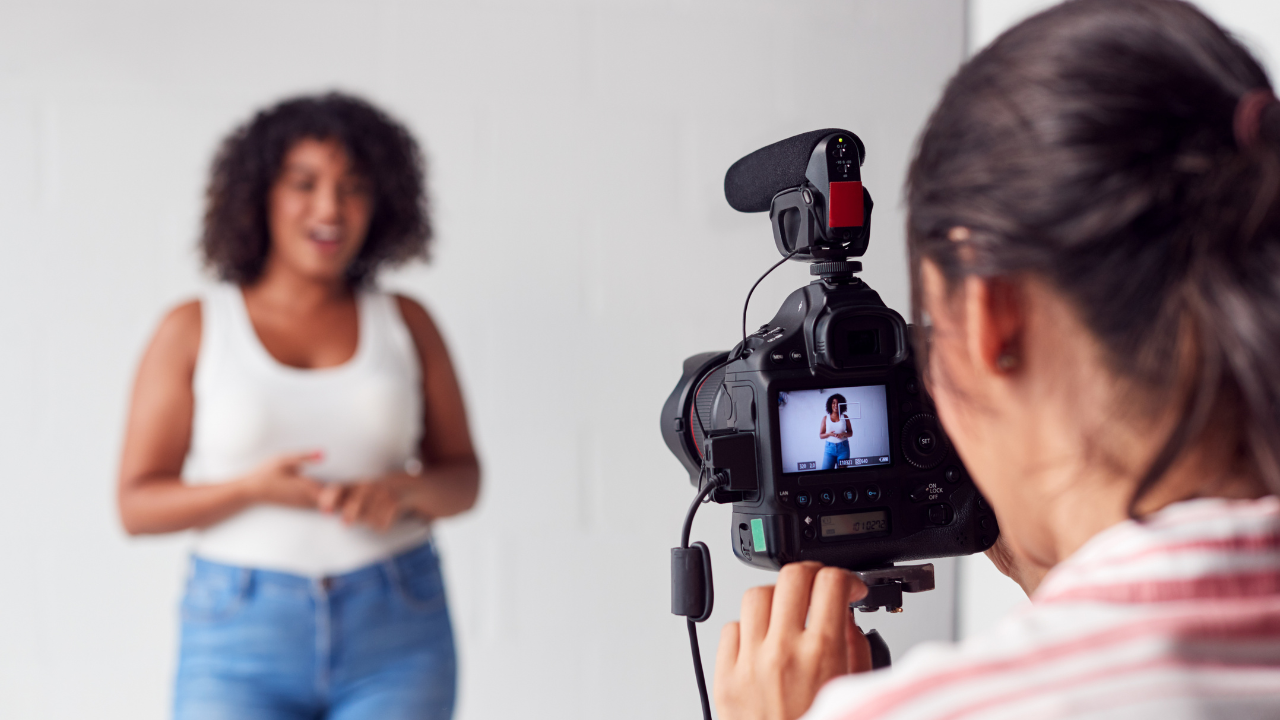
Even the most seasoned podcasters can fall into camera angle traps that make their shows look less professional. Here are a few of the most common:
- Dreaded Nostril Shot: Picture this: you’re watching a podcast, and all you can see is the host’s nostrils because their camera is positioned too low. Not a great look, right? Always position your camera at or slightly above eye level. If you’re using a laptop, put it on a stack of books or a laptop stand. Your viewers want to see your face, not your nose hair collection.
- “Where are You Looking” Dilemma: One of the most distracting mistakes is inconsistent eye lines. If you’re looking at your guest on your screen but your camera is positioned elsewhere, viewers feel disconnected. Position your camera as close as possible to where you naturally look during conversations. For remote interviews, place your guest’s video window as close to your camera as possible – your viewers will feel like you’re actually talking to them.
- Background Blunders: We’ve all seen it – the host who didn’t realize their laundry pile was visible in the background, or worse, someone walking behind them. It’s just like background noise. It distracts the viewer from what you’re saying. Always check what’s in frame before you start recording. Use the rule of thirds to position yourself and ensure your background adds to your production value rather than distracting from it.
These mistakes are common because they’re easy to make, but they’re also easy to fix once you know what to look for. Take the time to set up your angles correctly before each episode, and your show will immediately look more professional.
Advanced Tips and Techniques
Once you’ve mastered the basics, it’s time to level up your video podcast with some pro-level camera techniques. These advanced strategies will help your show stand out in a crowded podcasting landscape.
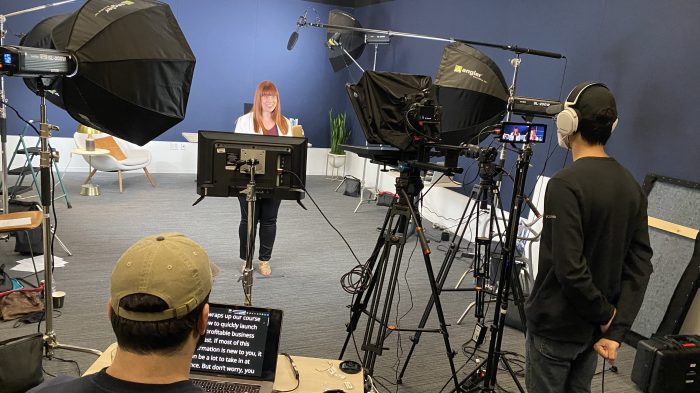
- Multiple Camera Mastery: Create a hierarchy of shots with primary, secondary, and specialty angles. Use matching cameras when possible, and consider a video switcher for seamless live transitions.
- Strategic Switching: Time your camera changes with natural speech breaks and gestures. Build a rhythm that matches your content’s energy – quick cuts for high-energy segments, slower transitions for serious discussions.
- Depth Creation: Layer your background with elements at different distances, use selective focus, and position lights to create subtle shadows. This adds a three-dimensional quality to your otherwise flat frame.
- Remote Guest Excellence: Maintain quality with remote participants by using quality remote recording platforms, providing setup guides, using consistent framing, and recording separate feeds for editing flexibility.
- Post-Production Polish: Color grade your footage for consistency, add subtle push-ins during key moments, and develop signature visual elements for recurring segments. Or, hire a pro podcast editor to ensure professional production.
Conclusion
As you implement these camera techniques, remember that quality trumps quantity. Start with mastering your basic angles before diving into more advanced setups. Your viewers will appreciate a well-executed two-camera setup more than a cluttered six-camera arrangement that lacks purpose. And remember, you can always start with an audio podcast that turns into a video podcast as you become more comfortable with video recording.
