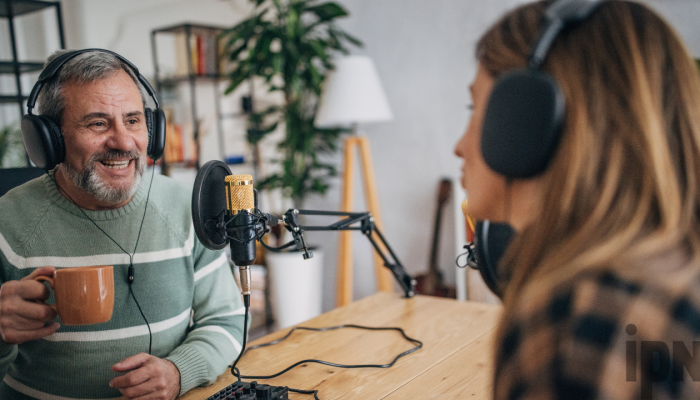
Launching a podcast is an exciting venture, allowing you to share your voice with a global audience. But before you get started, it’s important to have the proper tools to create a polished, professional-sounding show.
With the right equipment and software, you’ll be able to produce high-quality episodes that captivate listeners. While you certainly don’t need top-of-the-line gear, having the basics covered makes recording and editing a much smoother process.
Let’s take a look at the key tools you need to start podcasting, from microphones and interfaces to editing software and hosting platforms.
Microphones
Choosing the right microphone is one of the most important decisions when starting a podcast. This crucial piece of gear determines how good your raw recordings will sound. There are a few main options to consider at different price points.
Blue Yeti: Budget Microphone
For beginners, the Blue Yeti is one of the most popular USB mics out there. It plugs right into your computer, so there’s no need for additional equipment. The Yeti has onboard controls to toggle between various pickup patterns, letting you adjust its sensitivity. It produces sound quality suitable for most podcasting needs.
Shure SM7B: Industry Standard at a Reasonable Price
If you want to step things up, a microphone like the Shure SM7B dynamic mic is an industry standard for good reason. It has a rich, authoritative sound perfect for spoken word recording. You’ll need an audio interface to connect it to your computer. A Cloudlifter CL-1 preamp can provide additional gain for quieter voices.
Rode Podcaster: Specialized for Podcasting
The Rode Podcaster is another great mid-range XLR mic choice optimized specifically for podcasts. It has an internal shock mount to reduce noise and rumble. Rode’s Procaster is a budget-friendly alternative.
Samson Q2U: USB Cardioid Condenser
For interviews with multiple guests, you may want a USB cardioid condenser mic like the Samson Q2U. It allows you to capture audio from all directions within a room allowing you to set up a single mic for an entire room.
Audio Interface
If you opt for an XLR microphone like the SM7B or Podcaster, you’ll need an audio interface to get its signal into your computer. Audio interfaces enable you to connect professional mics as well as instruments like guitars to record in higher audio quality.
- M-Audio M-Track Solo: If your budget is tight, the M-Audio M-Track Solo can get the job done. It only features a single input for a mic and a single output for monitoring, but sometimes that’s all you need.
- Focusrite Scarlett 2i2: The Focusrite Scarlett 2i2 is a popular choice with two combo XLR/1⁄4-inch inputs. It has quality preamps to boost signals, and the converters deliver smooth, detailed sound. This versatile interface has everything you need for podcasting in one compact device.
- Behringer UMC1820: For more inputs, the eight-channel Behringer UMC1820 provides sufficient flexibility for recording interviews with multiple guests or co-hosts together in one room.
Recording Software
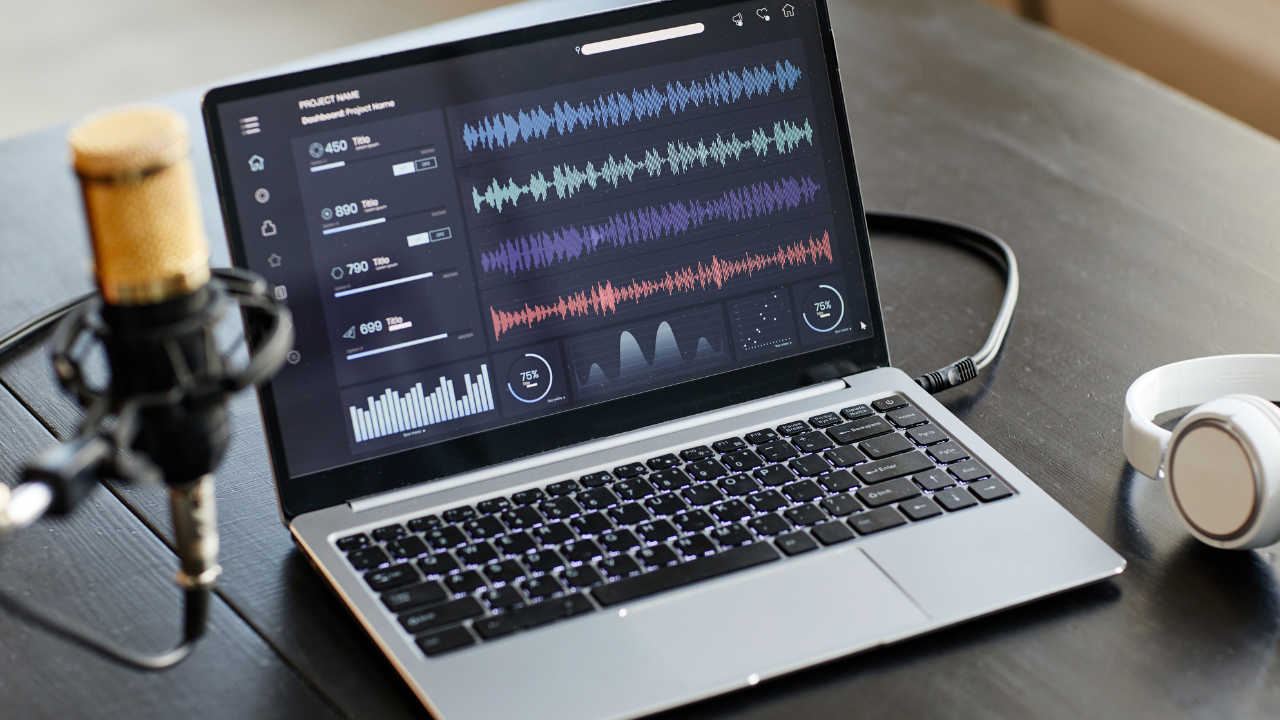
Your audio interface connects to recording software, which captures and edits the audio. Audacity is the most basic free program for multi-track recording and editing. For Apple users, GarageBand comes installed on all Macs.
Other popular options include Adobe Audition, which provides more advanced tools for audio restoration and effects, and Hindenburg Journalist Pro, designed specifically for podcast production.
When choosing audio software, look for features like noise reduction, compression, normalization, equalization, and supported file formats like MP3 and AIFF for exporting finished files. Some programs have templates to simplify the editing process.
Headphones and Monitors
Quality headphones are needed for editing as well as monitoring your audio inputs while recording. Look for over-ear, closed-back headphones that seal out external noise. The Sony MDR-7506 and Audio-Technica ATH-M50x are well-reviewed options.
Studio monitors (speakers) let you hear how your mix will translate and pick out any frequency masking. The KRK Rokit 5 and Yamaha HS5 are popular active monitors for home studios. You can also connect monitors to your audio interface.
Acoustic Treatment
Sound quality starts with your physical recording space. Treating the room to reduce echoes and reverb results in cleaner audio. Sound-dampening panels absorb reflections and high frequencies.
Portable vocal booths create an instant recording environment. You can also DIY your sound treatment using panels made from rigid fiberglass or polyester insulation wrapped in fabric. Just be sure not to block ventilation.
Editing Extras
A few plugins and tools can streamline editing. Izotope’s RX 10 Suite offers plugins to remove unwanted noise like mouth clicks with spectrographic editing tools. EQs like FabFilter Pro-Q 3 surgically cut or boost frequencies. Compressors help refine dynamics.
Transcription software like Otter.ai and Trint can save you time transcribing interviews or retrieving quotes. Their generated transcripts aren’t perfect, but they reduce editing time.
Hosting Your Podcast
Once your podcast is recorded and edited, you need reliable hosting to get your show online. Here are four hosting options perfectly suited for beginners:
- Buzzsprout: User-friendly Buzzsprout offers unlimited storage and bandwidth. Their distribution tools publish your podcast everywhere. Paid plans start at $12/month.
- Libsyn: A podcast hosting pioneer, Libsyn gives you robust analytics and great customer support. Their plans scale as your audience grows. Prices start at $5/month.
- Blubrry Podcasting: Blubrry has hosting plans tailored specifically for hobbyists, professionals, and enterprise customers. Plans include statistics, backups, and migration tools.
Podcast Promotions
With your podcast hosted online, it’s time to start promoting it. Creating a website and social media accounts provides a hub for your content and your community. Reach out to relevant influencers for collaborations.
Submit your show to iTunes, Spotify, and Google to expand your potential audience. Ask for reviews to raise your profile. Schedule social media posts and run targeted ads to spread the word on new episodes.
Appearing as a guest on complementary podcasts exposes you to new listeners. Offer bonuses like special episodes or exclusive content to email newsletter subscribers.
Additional Equipment
A few extra accessories can make it easier for you to produce a high-quality podcast:
- Pop filter: Prevents harsh plosives from hitting the mic
- Microphone stand: Position your mic properly; a boom arm allows for flexibility
- Windscreen: Guards against wind noise, especially for outdoor recording
- Lighting: Improve video quality with soft front lighting from ring lights or softboxes
Conclusion
With the right tools and knowledge, you can produce a podcast that rivals what the pros make. Focus first on choosing a suitable microphone and interface. From there, the rest of your equipment comes together. The most important thing is to commit to the process and continue creating.
